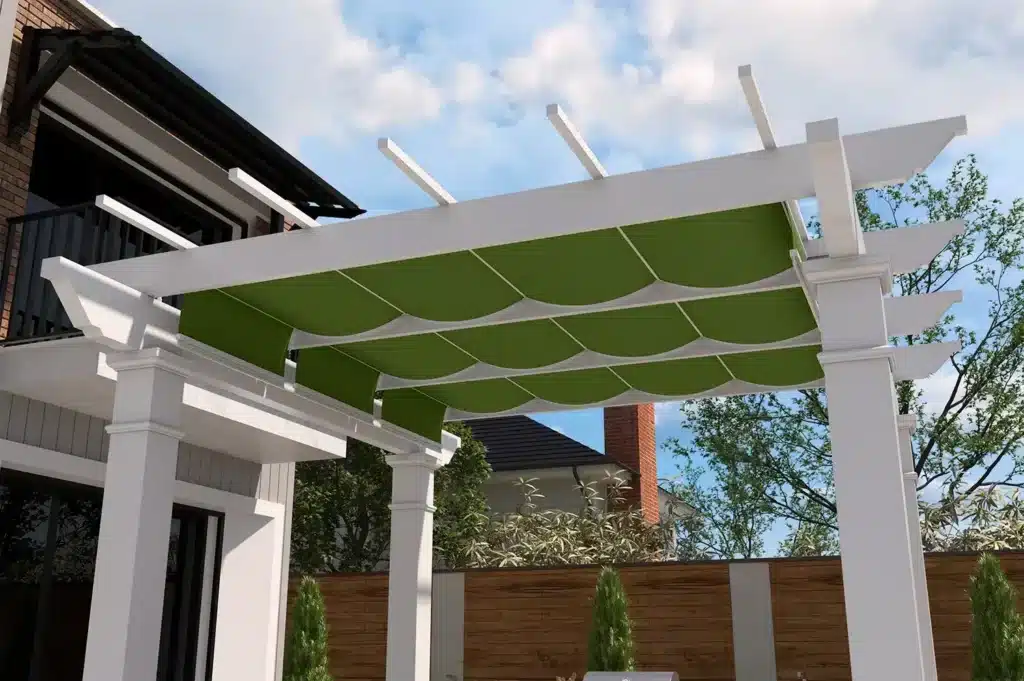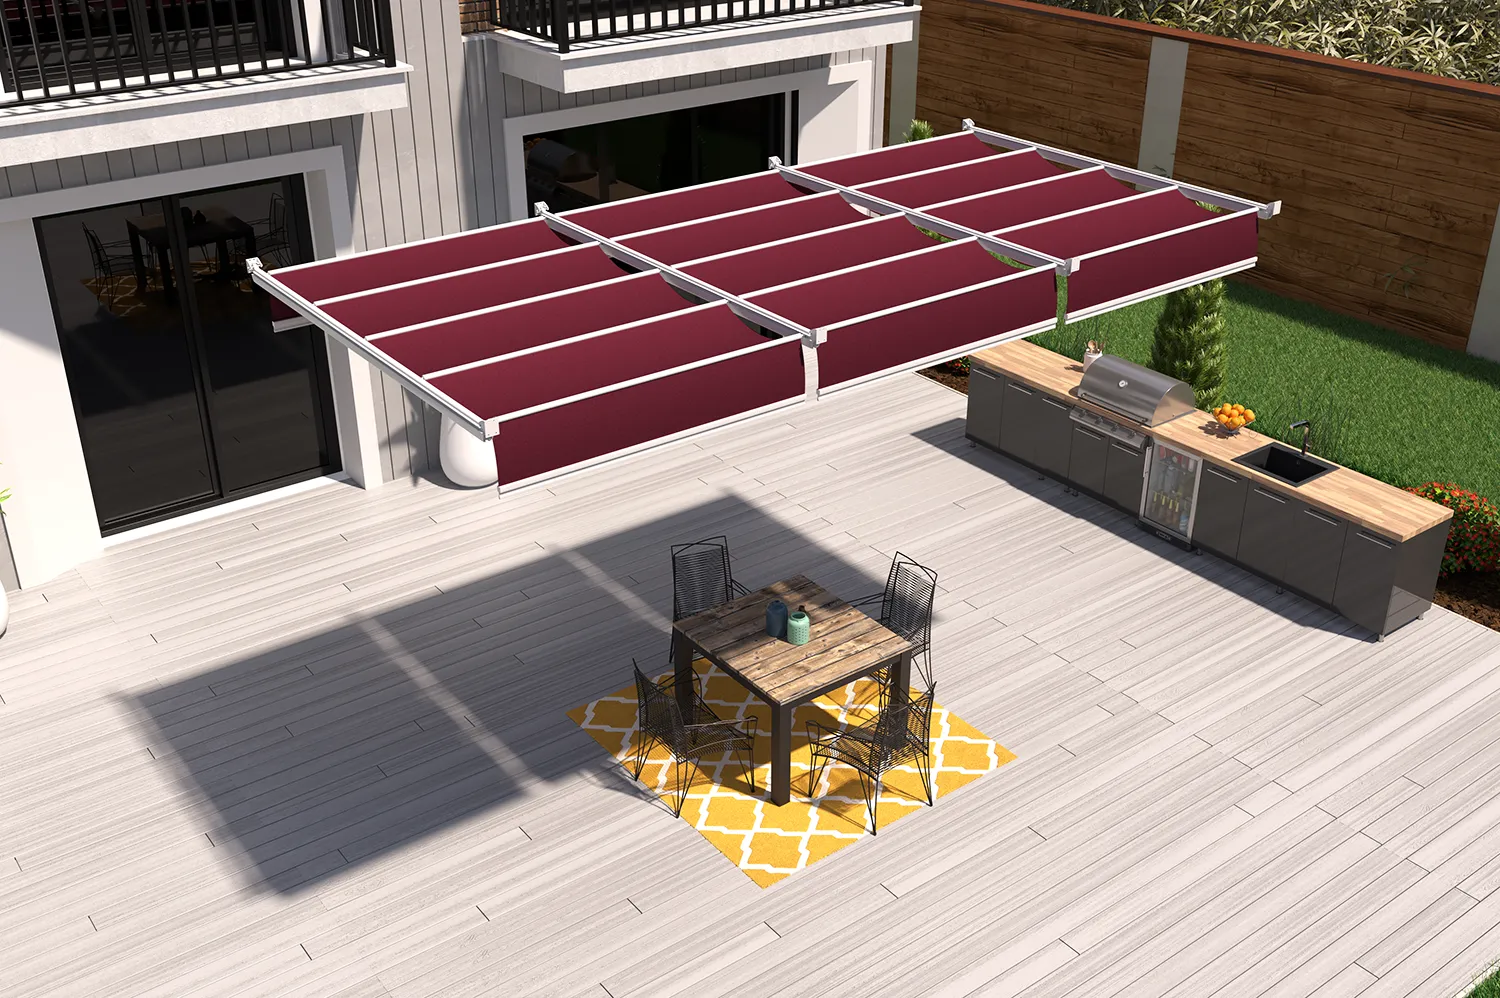
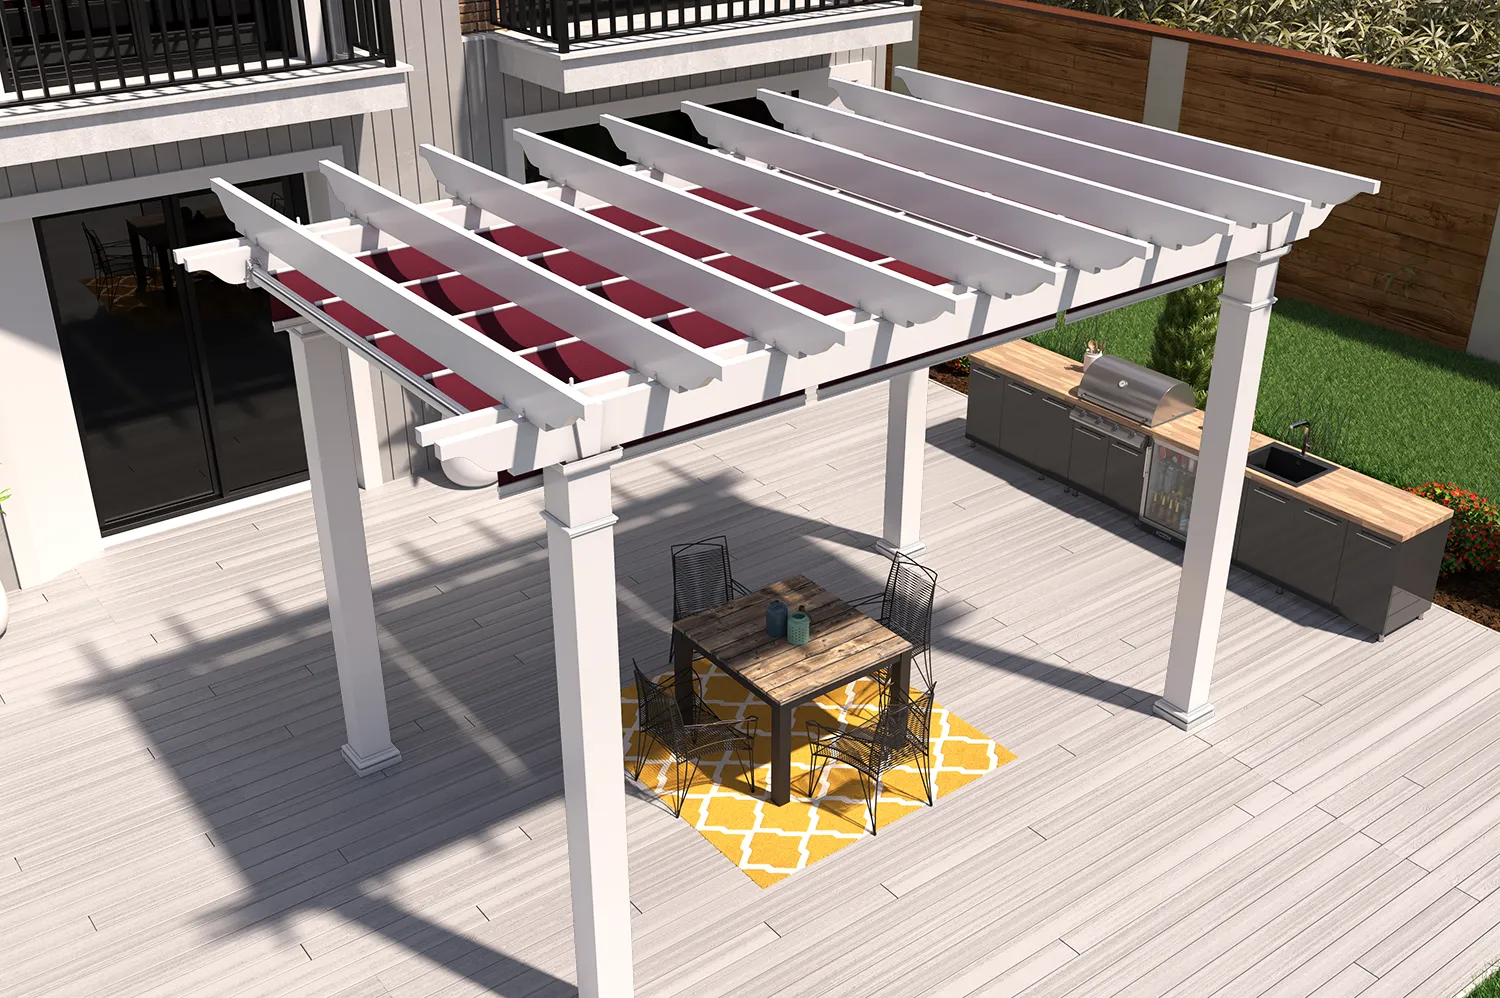
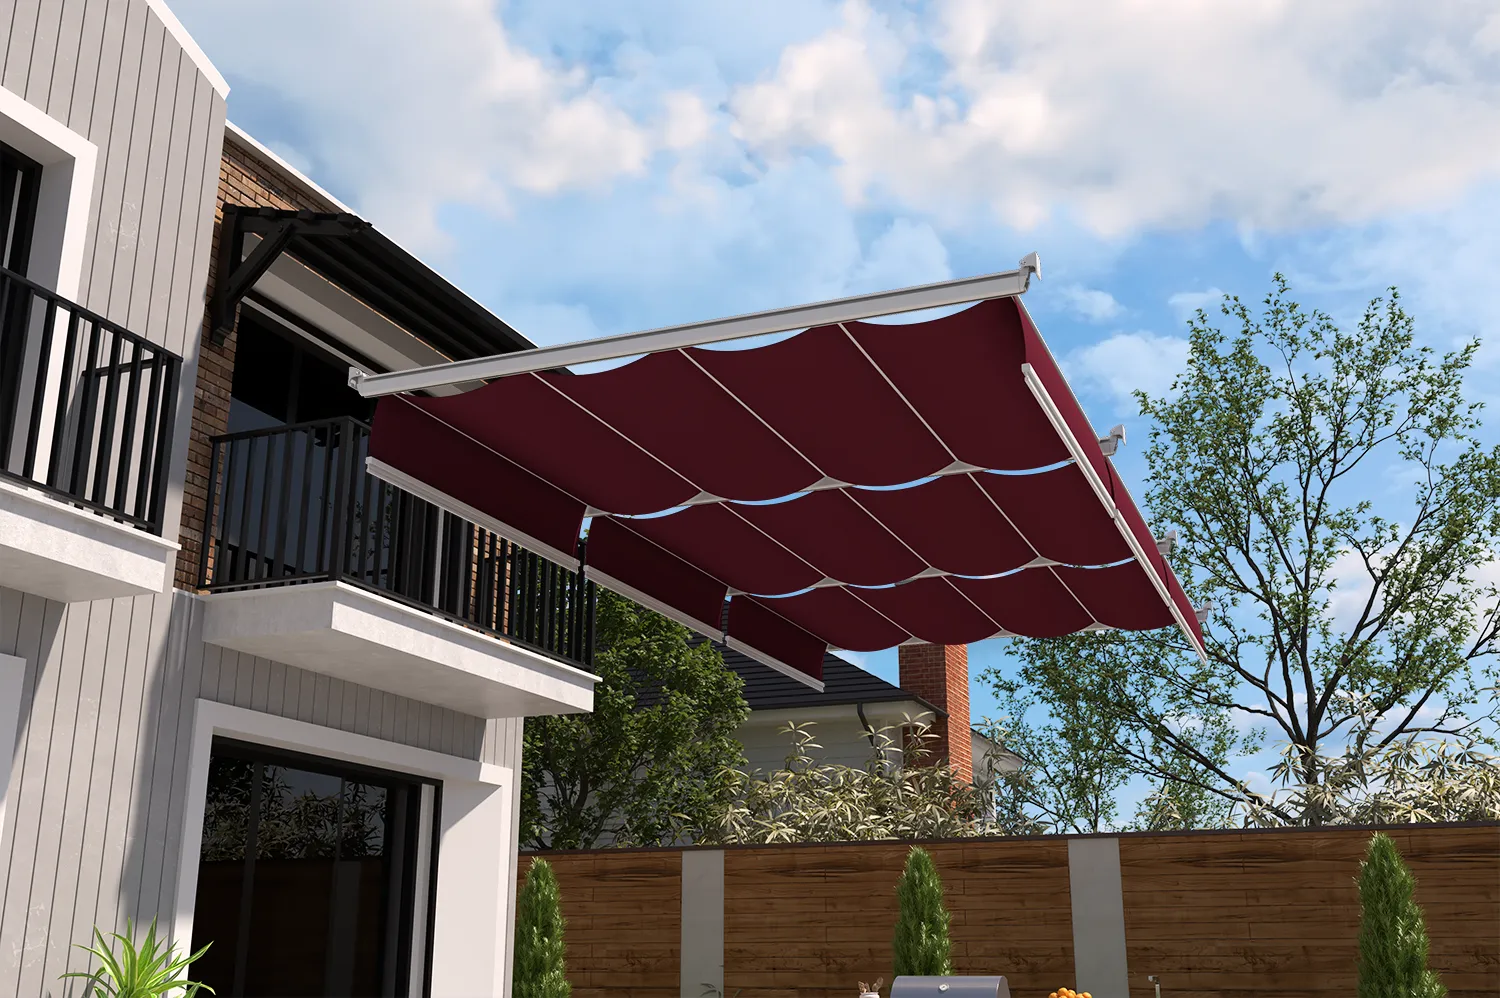
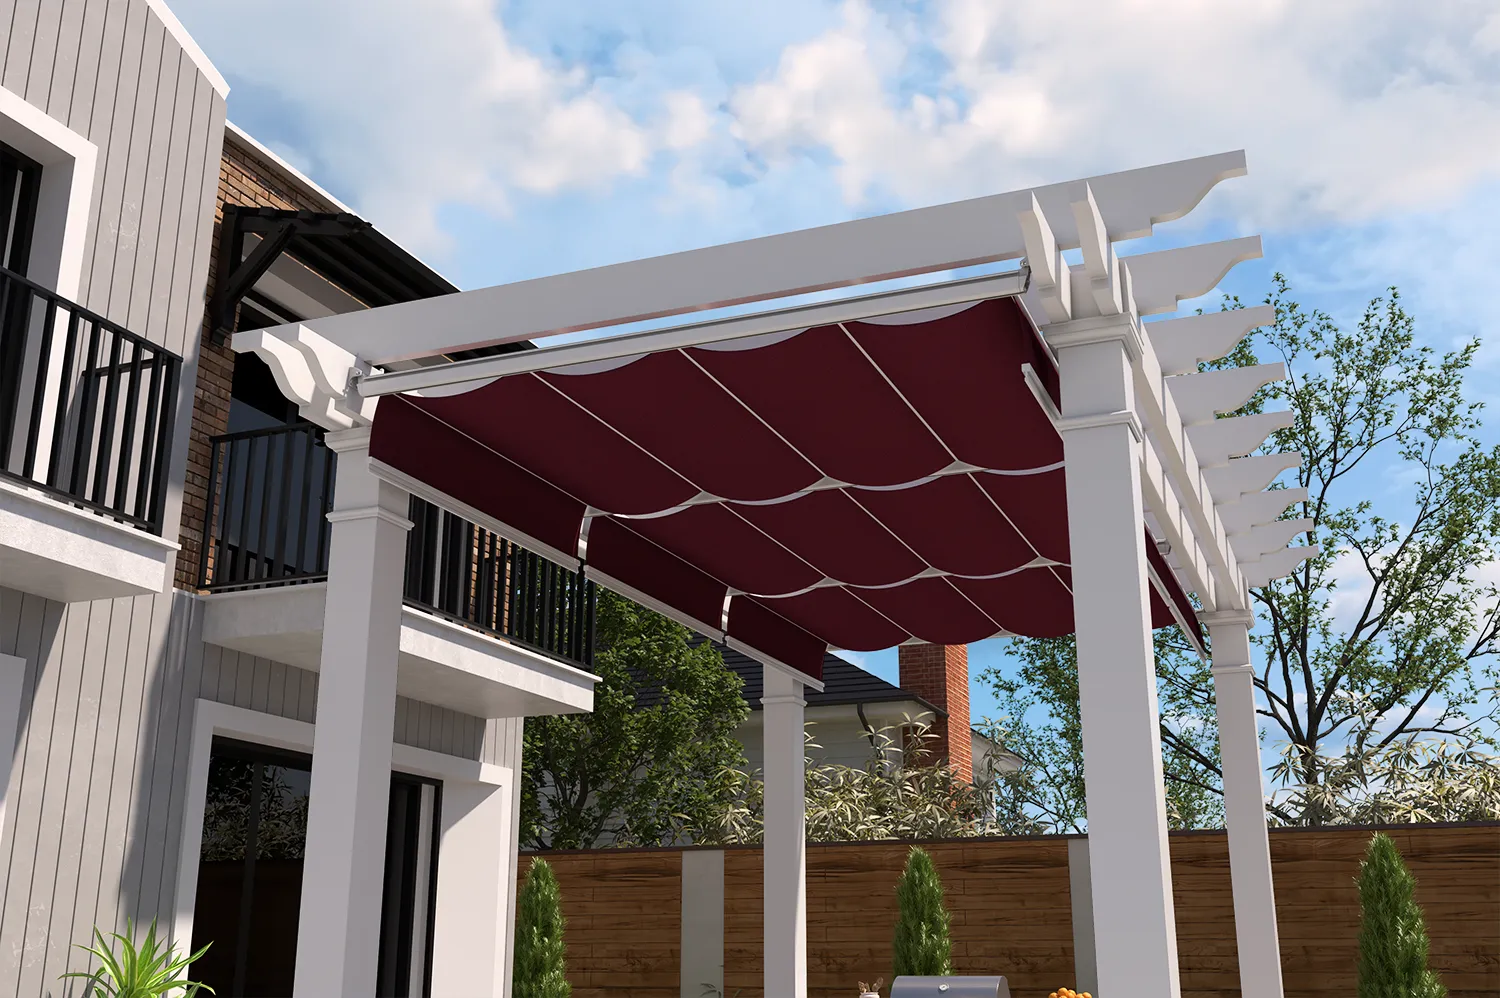
Use the slider to view the retractable canopy system separate from the pergola.

ShadeFlex® Classic Retractable Outdoor Canopy

Starting at $1147.50

ShadeFlex® Classic, is a simple retractable outdoor canopy for your existing pergola or structure and is designed to attach from beam to beam or building to beam for an attached pergola or shade structure.

This easy-to-install outdoor canopy system is the perfect addition to keep you shaded from the sun or to see the stars shining bright above you.

Simply attach the double-sided tracks from beam to beam or wall to beam, slide in the pre-cut canopies and you’re ready to stay cool in the shade, even on the hottest of days. With durable aluminum tracks and solution-dyed acrylic canopies, the ShadeFlex Classic retractable canopy system creates shade while complementing your existing structure’s style.

Embrace year-round enjoyment with these resilient canopies, designed to endure any weather conditions, rain or shine.

No pergola? No Problem! We offer pergolas and patio covers featuring ShadeFlex outdoor canopies adding stylish shade anywhere outdoors.

Color Sets the Mood for Every Space

Peaceful and calm or bold and exciting, your choice of canopy color is the accent that makes your style stand out. We offer premium canopy fabrics from Sunbrella & Textilene to help you design a patio cover or canopy system that fits your style best.

Sunbrella Fabrics

100% solution dyed acrylic fabrics resistant to mildew and mold, stains and water, and are designed to stay with you season after season.

Textilene 90

A high-performance solar screen fabric that effectively blocks up to 90% of the sun’s rays, minimizing heat transfer, glare, and harmful UV radiation.

Sunbrella®

Outdoor Canopy Fabrics

Water & Mildew Resistant

100% Solution-Dyed Acrylic

UV Resistant

Solid Colors & Stripes

Stain Resistant

Quick Ship & Custom Selections

Textilene 90®

Outdoor Canopy Fabrics

Water & Mildew Resistant

Solid Colors

Blocks Up to 90% of Sun's Rays

PVC-Coated Polyester Mesh

Reduces Heat Transfer & Glare

Fade Resistant

Built to Last a Generation

Invest in outdoor comfort that outlasts the seasons, completely rust-proof and entirely care-free.

Our Warranty

Backed by an incredible warranty, our structures are resistant to stains & corrosive substances, and are not prone to splinter, crack, or rot.

Low Maintenance

Structures clean easily with soap and water and require no painting, staining, or waterproofing to keep them looking beautiful.

All-Weather

Our all-weather materials are made to withstand all four seasons and a range of climates, including hot sun, snowy winters, rain, and winds.

Highly Durable

Aluminum tracks and quality fabrics built to last: rust-resistant, stylish, and usable year-round.

Made in the USA

Our team of designers, engineers, and craftsmen chases perfection in creating pergolas, patio covers, and canopies at our factory in Virginia.

Product Details

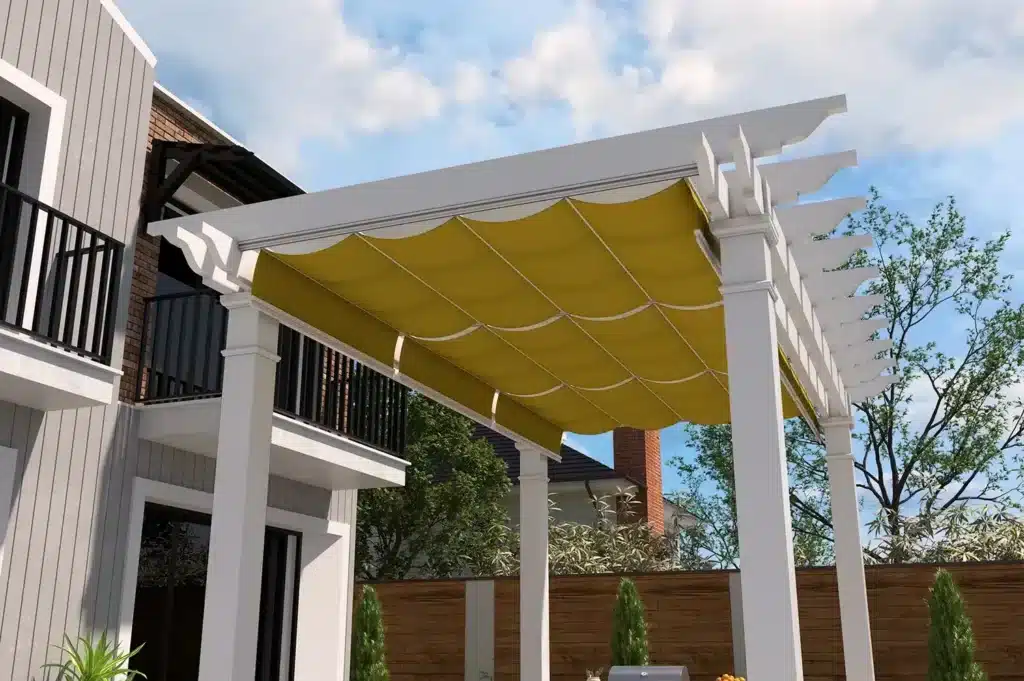
The ShadeFlex Classic retractable canopy system is designed to be used between the beams of a pergola or shade structure. Professional-grade canopies extend up to 24 feet without additional braces and can be easily removed for cleaning & winter storage.

Need a different solution?
Our ShadeFlex Fit retractable canopy system is for use when you need to place the canopies beneath existing beams. Or, maybe you’d like to hang the canopies beneath your structures rafters, then the ShadeFlex Cloud retractable canopy is the right solution for you.

Sizes Available: Custom made to your specifications

Track Material: Extruded aluminum

Canopy Length/Projection: up to 24′

Canopy Widths: 30″, 46”, 60” and custom widths

Canopy Materials: Sunbrella Solution Dyed Acrylic or Textilene 90 Mesh w/white or black canopy hardware

Track Finish: Powder Coat

  • Tailored to fit your specifications
  • ShadeFlex® manually retractable canopies with Sunbrella® fabrics
  • Up to 24′ canopy projection
  • Up to 60″ span between rafters, with canopies custom cut to fit your pergola or structure.
  • Built-In wind protection protects your canopies and structure 
  • Tracks available in Seashell White, Jet Black or Taupe
  • System arrives pre-cut, pre-drilled and ready for easy assembly
  • Step-by-step instructions and installation hardware included
  • Available for residential & commercial applications
  1. Determine The Mounting Surface Width
    • Begin by determining the overall width of the canopy installation, ensuring that measurements match on both sides of the structure.

  2. Measure The Distance Between Beams or Walls
    • For freestanding structures, measure the distance between beams.

      For attached structures, measure the distance between the wall and the corresponding beam or wall.

  3. Ensure You Have Enough Space For Canopy Clearance
    • Be sure there is at least 15 inches of vertical clearance below the top of the track mounting location along the rafter projection.

      *If there is less than 14 inches clearance available, consult with the Shade Specialist for custom handle lengths.

  4. Determine Your Required Track Length
    • Determine the required track length by subtracting 5 inches from measurement B. For this step, we recommend referencing your measurement guide.

  5. Determine The Number of Canopies and Track Spacing For Wall to Wall Installations
    • Determine the track center-to-center spacing by first subtracting 4 inches from measurement A.

      Divide dimension D by the desired number of canopies. This value should be between 34 inches and 64 inches.

      For this step, we recommend referencing your measurement guide.

  6. Determine The Number of Canopies and Track Spacing For Freestanding or Attached Installations
    • Determine the track center-to-center spacing by first subtracting 2 and 1/2 inches from measurement A to determine the width between the center of the outside tracks.

      Divide dimension D by the desired number of canopies. This value should be between 34 inches and 64 inches.

      For this step, we recommend referencing your measurement guide.
    1. Start By Installing The Mounting Brackets
      • Begin by positioning a corner bracket at least 2 inches offset from adjacent walls if in a closed corner, or flush if in an open area.

        Then secure it with the provided screws.

        Next, install the remaining brackets based on the spacing shown in your installation guide, ensuring they’re all level and properly aligned.


    1. Install The Classic Track
      • Pre-drill pilot holes at the end of each track. Then, slide the track end insert into both ends of the track and secure it with screws.

        Position one side of the track assembly against the mounting bracket and fasten it.

        Repeat this process for the opposite side and for all remaining tracks.


    1. Install The Canopy
      • Determine the correct orientation of the canopy by identifying the front slide lock and the roller lock pin.

        For attached configurations, the roller lock pin will be located on the wall side.

        For freestanding configurations, the roller lock pin will be located on the side where the fabric will collect when retracted.

        Also, ensure the PVC side of the crossmember faces upward and the aluminum side faces downward.


    1. Install The Front Slide Lock Crossmember
      • Begin installation at the rear of the structure with the crossmember containing the front slide lock. Insert the first crossmember into both tracks simultaneously with the locking tab facing upward


    1. Install The Mid Crossmember
      • Next, install mid crossmembers into both tracks at the same time.


    1. Install The Roller Lock Pin Crossmember
      • Install the last crossmember into the tracks. Position this final crossmember at the desired stopping point for the canopy, measuring from a fixed reference point to ensure consistent placement across all canopies. Once positioned, tighten the roller lock pin set screw.


  1. Install The WindLocks
    • Position a WindLock at the end of the track and then secure the WindLock to the rafter track. Next, fully retract the canopy and mark the centerline of the first crossmember that contains the front slide locks on the rafter track. Position a second WindLock on the rafter track.

      Align this WindLock so the mark is centered between the set screw and the spring-loaded mechanism. Tighten all four set screws to secure it in place. Tighten or loosen the adjusting screw on the WindLock to set the desired spring tension.

ShadeFlex Classic Warranty:
Canopy fabric will be free of defects in material and workmanship under normal and proper use for a period of five (5) years, canopy tracks for ten (10) years and canopy hardware for three (3) years.

For complete warranty information download the ShadeFlex Classic Warranty

Want to see how we protect your order and your data? Take a quick look at our Purchase Terms and Privacy Policy.

YOU MAY ALSO LIKE

Want Some Great Shade!

Learn how to create the right amount of shade for the perfect outdoor space!